

Simplifying CI/CD Pipelines with Argo CD and Kubernetes
From Manual to Automated: Transforming Kubernetes Deployment with Argo CD


Introduction :
Argo CD has emerged as a game-changing tool for streamlining CI/CD workflows in Kubernetes deployments. With its declarative and GitOps-based approach, Argo CD simplifies the automation of application and configuration deployments. In this blog, we explore the power of ArgoCD and we will also create an entire CD pipeline with ArgoCD for our Minikube cluster.
What is ArgoCD ??
Argo CD is a powerful and widely adopted tool for continuous deployment (CD) in Kubernetes environments. It operates on the principles of declarative and GitOps-based continuous delivery. Argo CD functions as a control plane that connects to your Kubernetes cluster and continuously monitors the desired state of your applications. Argo CD connects with your public GitHub repository to get the latest desired state.
Working on ArgoCD ??
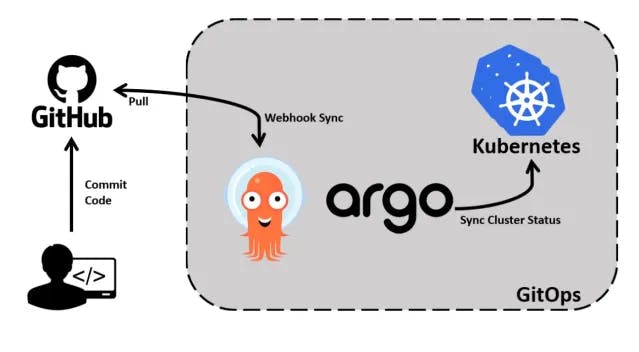
Most of the CI/CD tools like Jenkins, and GitHub actions work on push-based models. The Jenkins pipeline gets triggered when there is a push or commits in the GitHub repository. Then Jenkins tells Kubernetes to change the state of the application. But ArgoCD works on a Pull based model. The ArgoCD operator is installed inside the Kubernetes cluster and this operator continuously watches the GitHub repository. If there is a change or new commit in the repository then ArgoCD updates the state of the application automatically.
But how do we define the state of the application ??
This is done using Helm charts. We store our Helm charts in the GitHub repository and ArgoCD watches these charts and if there are any changes in the Helm chart then it will update the state.
Now we have a basic understanding of how ArgoCD works, so let’s build an application that uses ArgoCD.
Prerequisites -
Kubernetes knowledge
Minikube
Helm chart
GitHub Repository
For this blog, we are going to use one of my Helm charts i.e. https://github.com/PranavMasekar/Helm-Charts.git. The chart is in the application folder. This helm chart just created deployment and NodePort service which runs a simple web application. Feel free to use your Helm chart.
🧑💻 Let’s start with the installation of ArgoCD -
Start your minikube cluster using the command
minikube start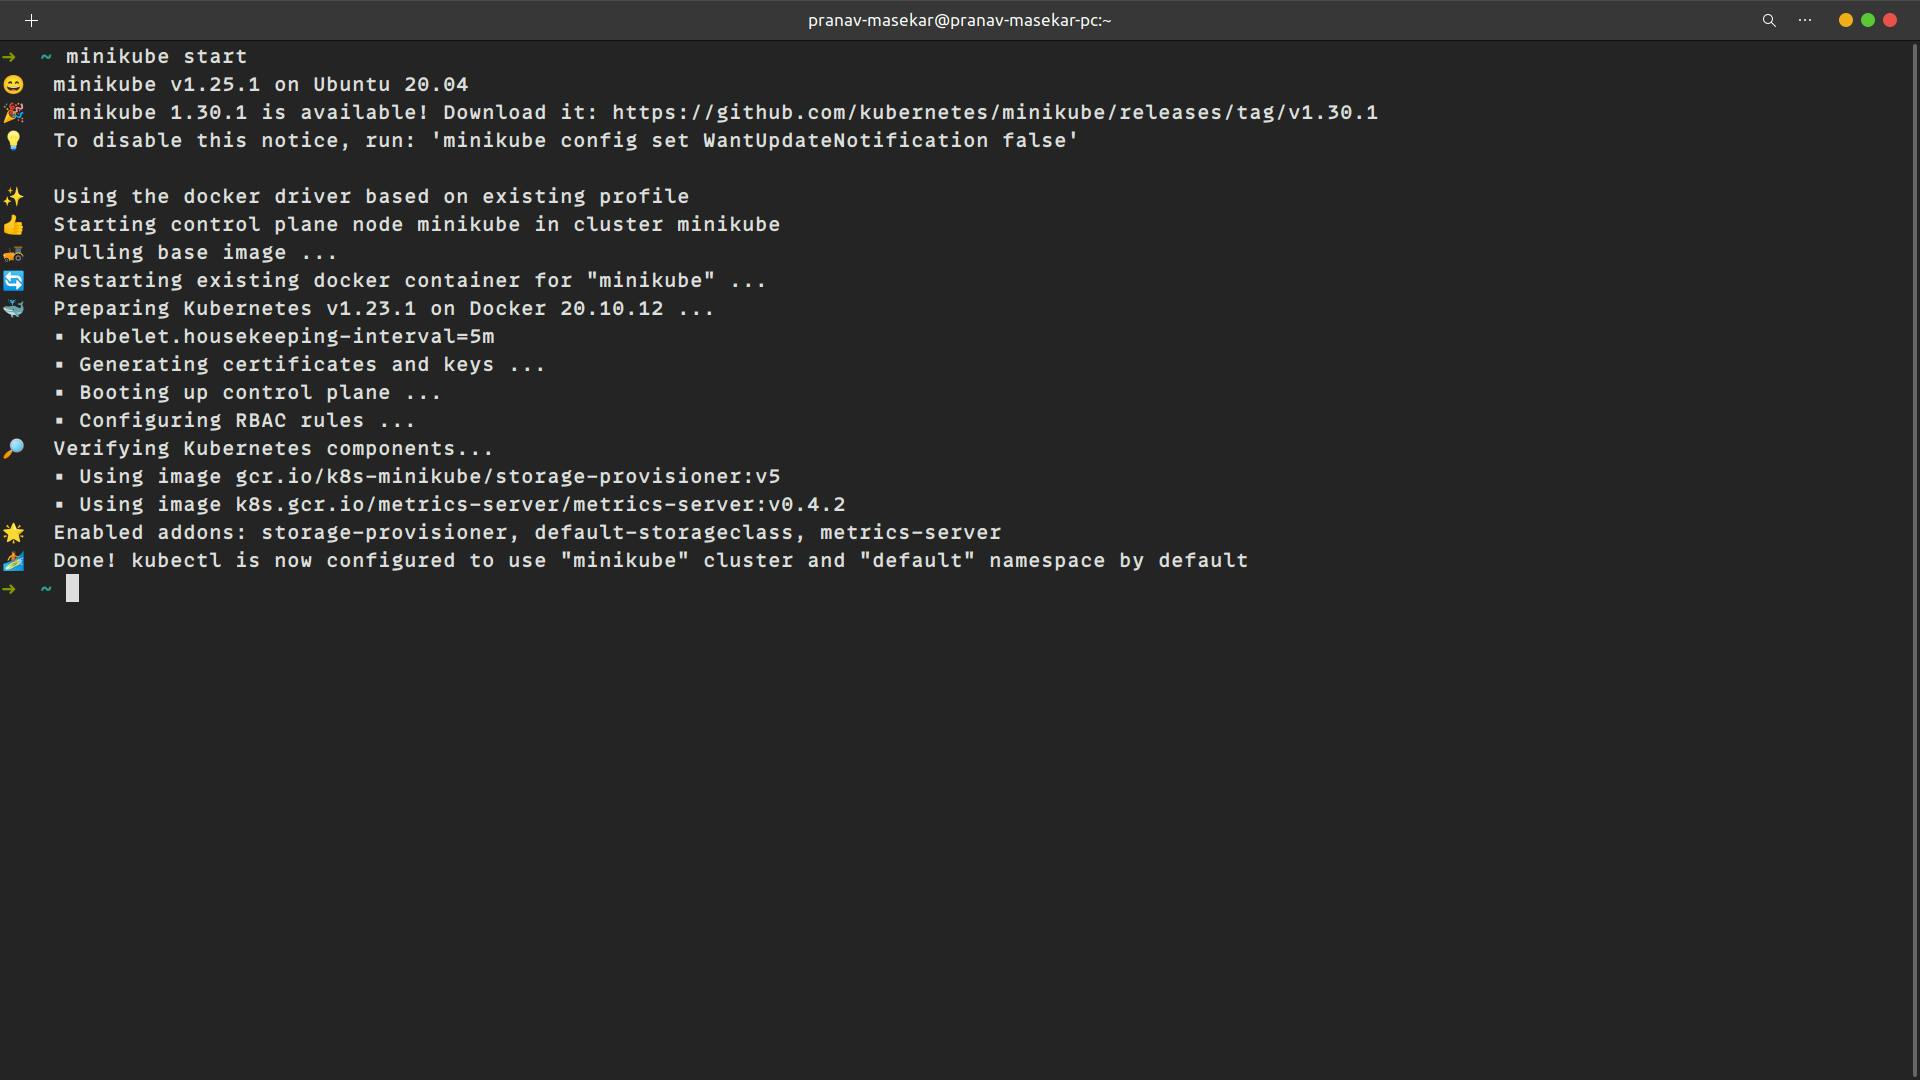
ArgoCD is installed in its namespace according to its documentation so we have to create a namespace called argocd and install ArgoCD there.\
 kubectl create namespace argocd
 kubectl apply -n argocd -f   https://raw.githubusercontent.com/argoproj/argo-cd/stable/manifests/install.yaml
Access ArgoCD Server -
If we run
kubectl get svc -n argocd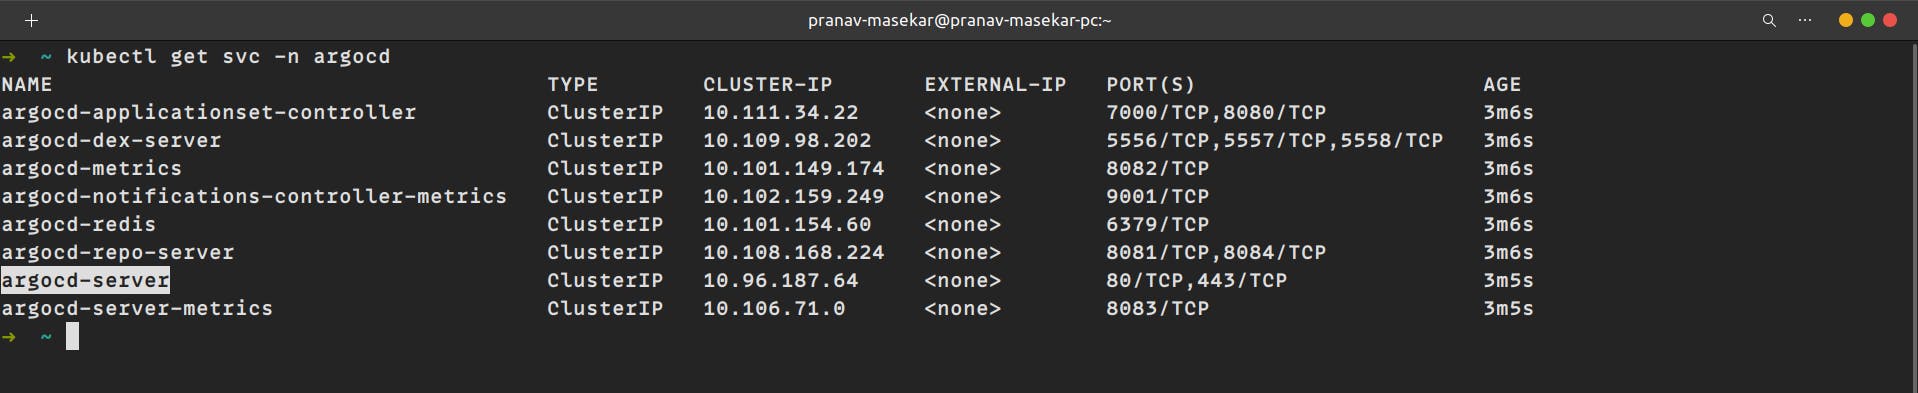
We can see the argocd-server service running but its type of ClusterIP, we need to change the service type to LoadBalancer to access the service. So run
kubectl patch svc argocd-server -n argocd -p '{"spec": {"type": "LoadBalancer"}}'The output will be service/argocd-server patched
Now to access the service we need to port forwarding because Minikube does not provide an external IP address for LoadBalancer service types. So for that run
kubectl port-forward svc/argocd-server -n argocd 9000:443Now visit localhost:9000, it will show a privacy error just click on Advanced and proceed to localhost.
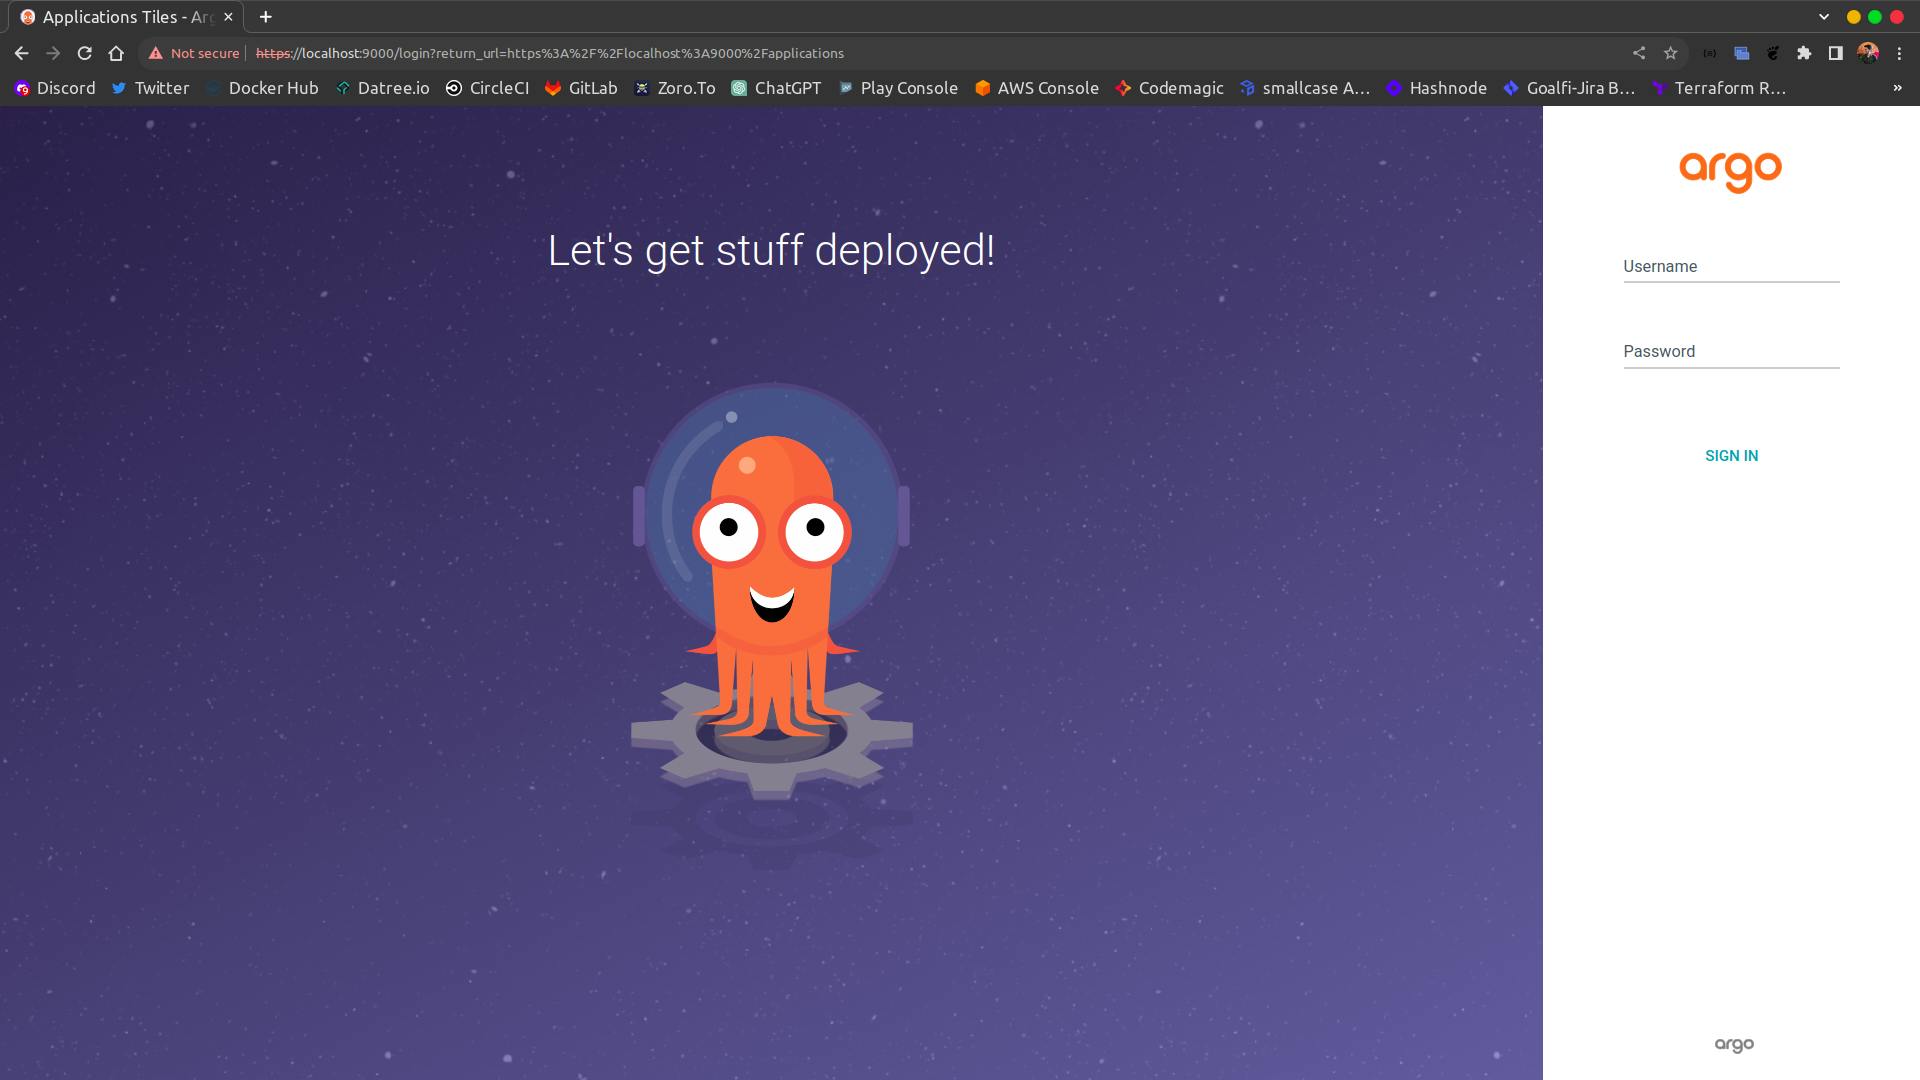
Login to ArgoCD Server -
ArgoCD creates a random password for each new installation and stores it in the secret in Kubernetes in the name argocd-initial-admin-secret.
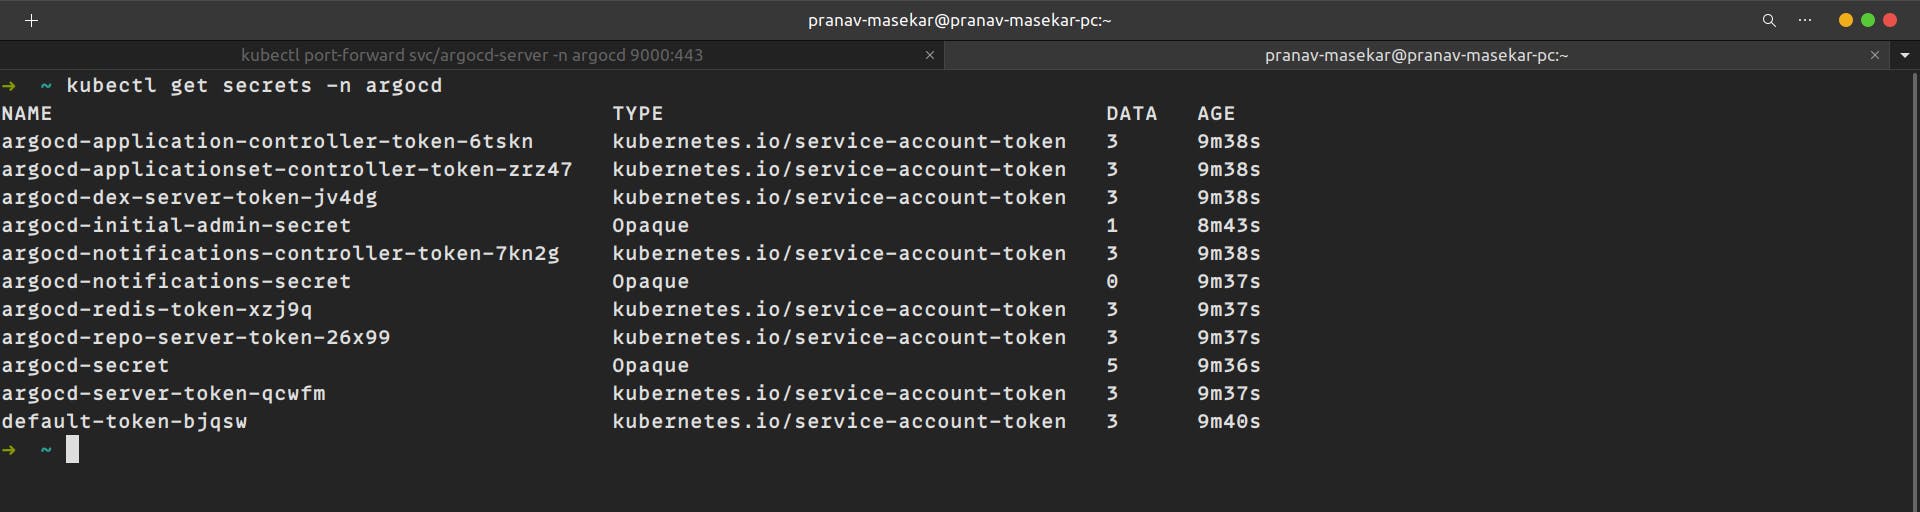
To get the value from a Kubernetes secret run
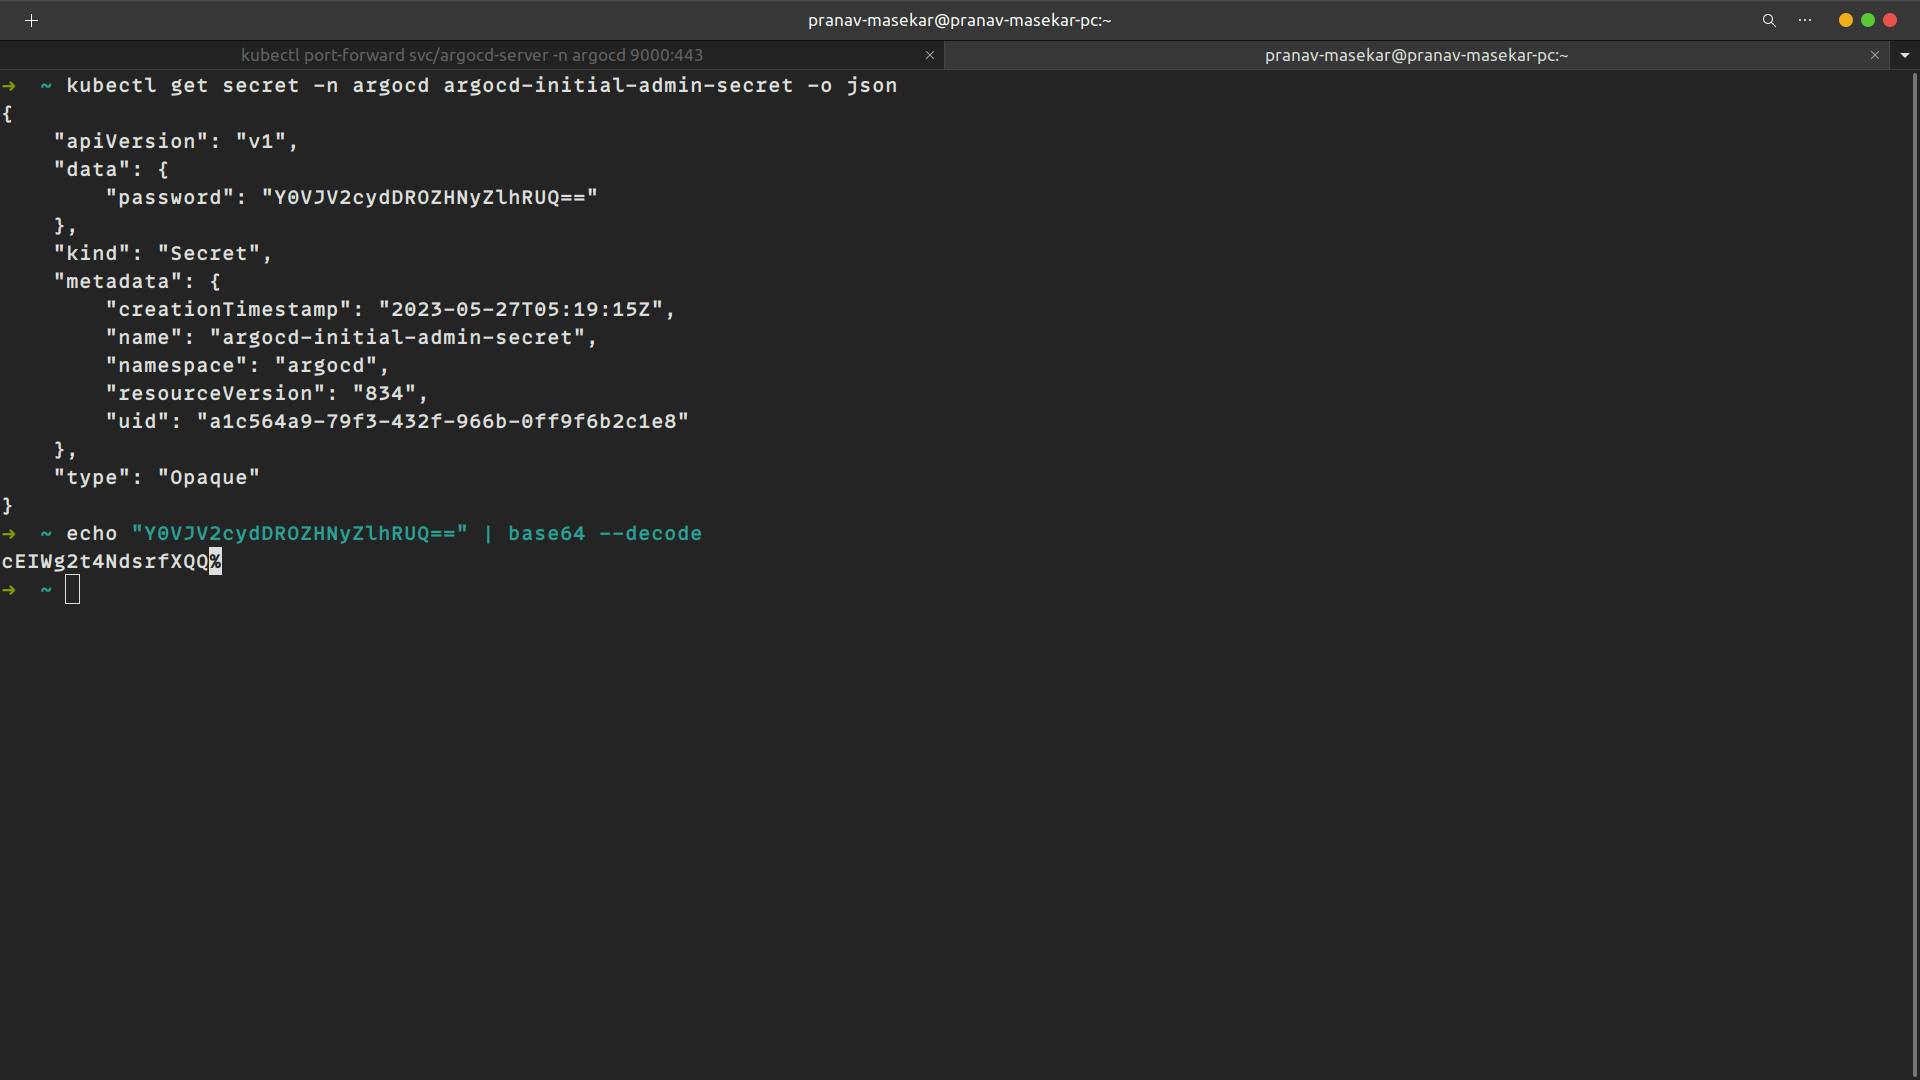
kubectl get secret -n argocd argocd-initial-admin-secret -o jsonNow copy the text in the password field but it's in base64 encoded format we need to decode the password to use it, So for that run
echo <"YOUR_PASSWORD>" | base64 --decodeCopy the output of the command go to the localhost:9000 put the username as admin and the password you copied and click on Sign In.
Now ArgoCD dashboard will show up -
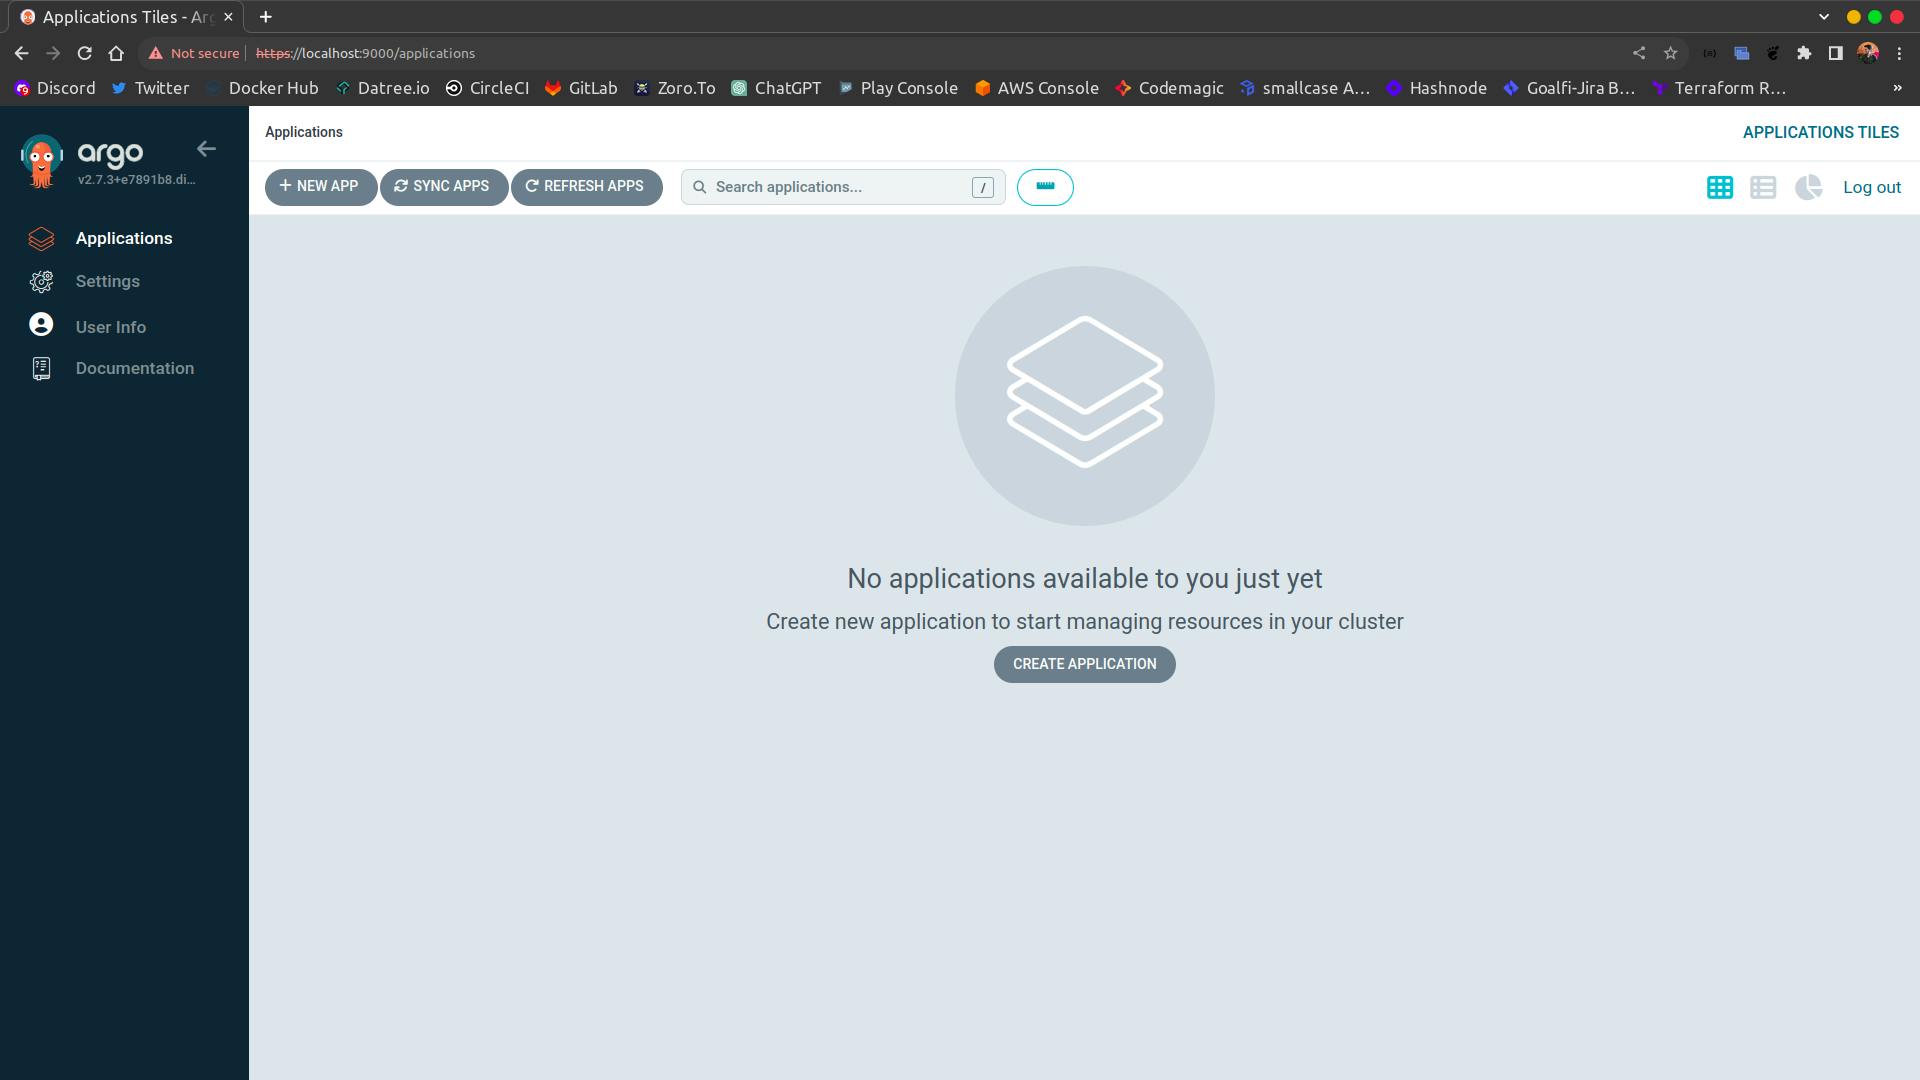
Create an application in the ArgoCD dashboard
Click on the New App icon
Give the application a name
Set project name as default
Set Sync policy to automatic
In the source, section provide the GitHub link of the repository and also select the branch and folder in which your helm chart is stored.
In the destination, section selects the default URL for cluster URL and type default in the namespace section.
In the Helm section provide values files path if required, in my case I am providing values.yaml file as values to helm chart.
Click on Create App.


After the application is created it will be shown in the dashboard. As we selected the automatic option for the sync it will automatically fetch the desired state and will create deployments and services for us.
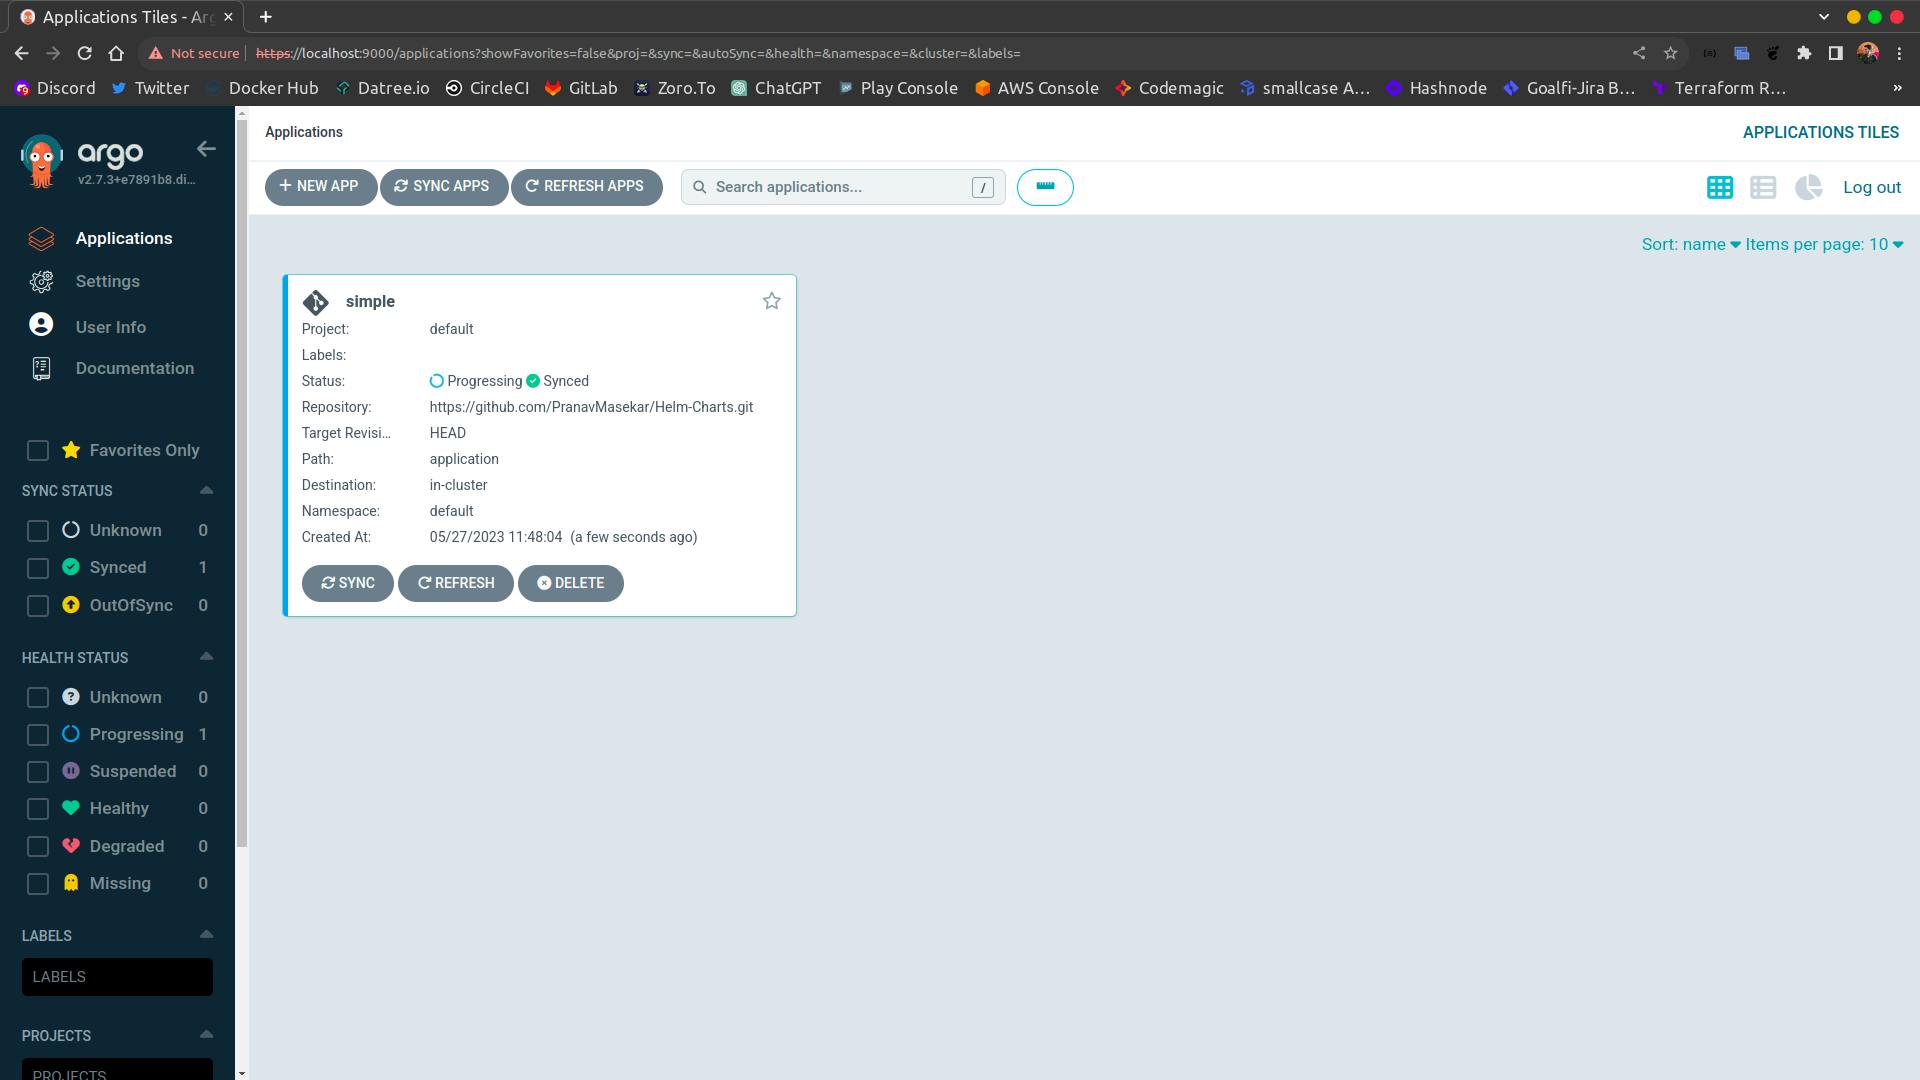
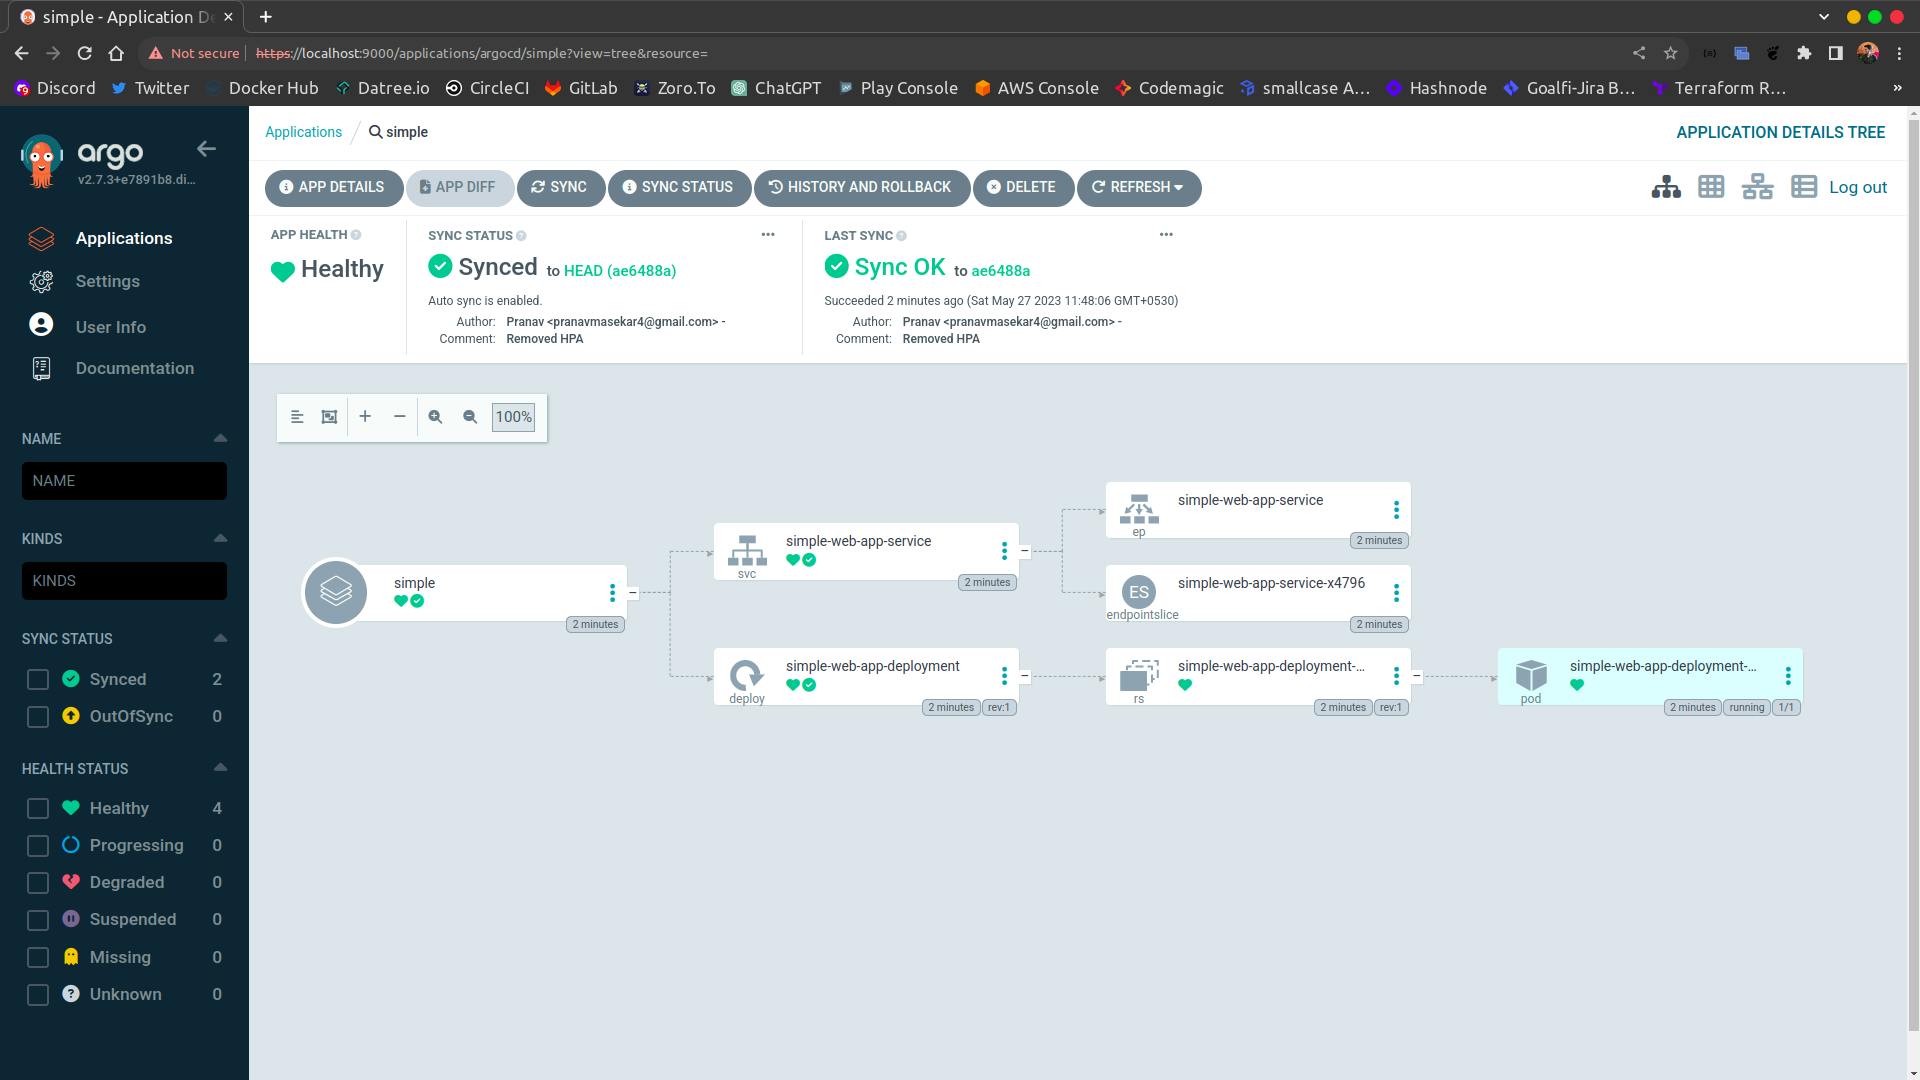
Access the application View
Click on the application card in the dashboard to see their health status and other related things.
Testing Auto sync functionality
Now if we do any change in the repository of the helm chart like suppose we change the service type from NodePort to LoadBalancer.
It should get automatically updated in the Kubernetes cluster using ArgoCD.
Congratulations !!! 🎉 🎉 We successfully implemented a CD pipeline for Kubernetes using ArgoCD. Throughout this journey, we have seen how Argo CD simplifies the process of deploying and managing applications in Kubernetes clusters. Its integration with Git repositories and ability to compare and reconcile the desired state with the current state in the cluster