Flutter Animations Beyond the Basics
Understanding the Power of Explicit Animation
Introduction
As we continue our exploration into the captivating world of Flutter animations, we delve even deeper into the art of bringing your mobile applications to life. In the first part of this series, we uncovered the magic of implicit animations, where changes in your app's state trigger graceful transitions and visual enhancements. Now, it's time to take our animation skills to the next level as we venture into the realm of explicit animations. Flutter's explicit animations offer precise control over every aspect of your app's motion and visual effects, allowing you to create truly immersive and interactive user experiences. Join us in this second instalment as we unravel the secrets of explicit animations, empowering you to craft dynamic and engaging Flutter apps that leave a lasting impression on your users.
Example - 1
In our first example of Explicit animations, we are going to create this simple animation.

To create explicit animations we need Animation controllers, which provide much more control over the animations.
class _HomeScreenState extends State<HomeScreen> with TickerProviderStateMixin {
  late Animation<double> scaleAnimation;
  late AnimationController controller;

  @override
  void initState() {
    super.initState();
    controller = AnimationController(
      vsync: this,
      duration: const Duration(milliseconds: 1500),
    );
    scaleAnimation = Tween<double>(begin: 0, end: 1).animate(controller);
    controller.forward();
  }

  @override
  Widget build(BuildContext context) {
    return Scaffold(
      body: Center(
        child: Column(
          mainAxisAlignment: MainAxisAlignment.center,
          children: [
            ScaleTransition(
                scale: scaleAnimation,
                child: Container(
                  height: 200,
                  width: 200,
                  decoration: const BoxDecoration(
                    color: Colors.blueAccent,
                    shape: BoxShape.circle,
                  ),
                ),
              ),

          ],
        ),
      ),
    );
  }
}
AnimationController -
An AnimationController is a fundamental class in Flutter's animation framework. It controls the timing and status of an animation. It can be used to start, stop, or reverse an animation and specify its duration and curve (easing function).
Animation -
An Animation represents a value that changes over time during an animation. It's like a variable that smoothly transitions from one value to another as the animation progresses.
In our case, we have created an Animation of type double which will change the value over the period.
TickerProviderStateMixin
Tickers are essential for animations as they control the frame rate at which the animation updates. They help maintain smooth and consistent animations.
TickerProviderStateMixin is a mixin class in Flutter that provides the necessary configuration for a State object to create and manage Ticker objects.
ScaleTransition -
ScaleTransition is a widget in Flutter that applies a scaling animation to its child. Flutter provides more transition widgets which you can check in the official Flutter documentation.
Example 2 -
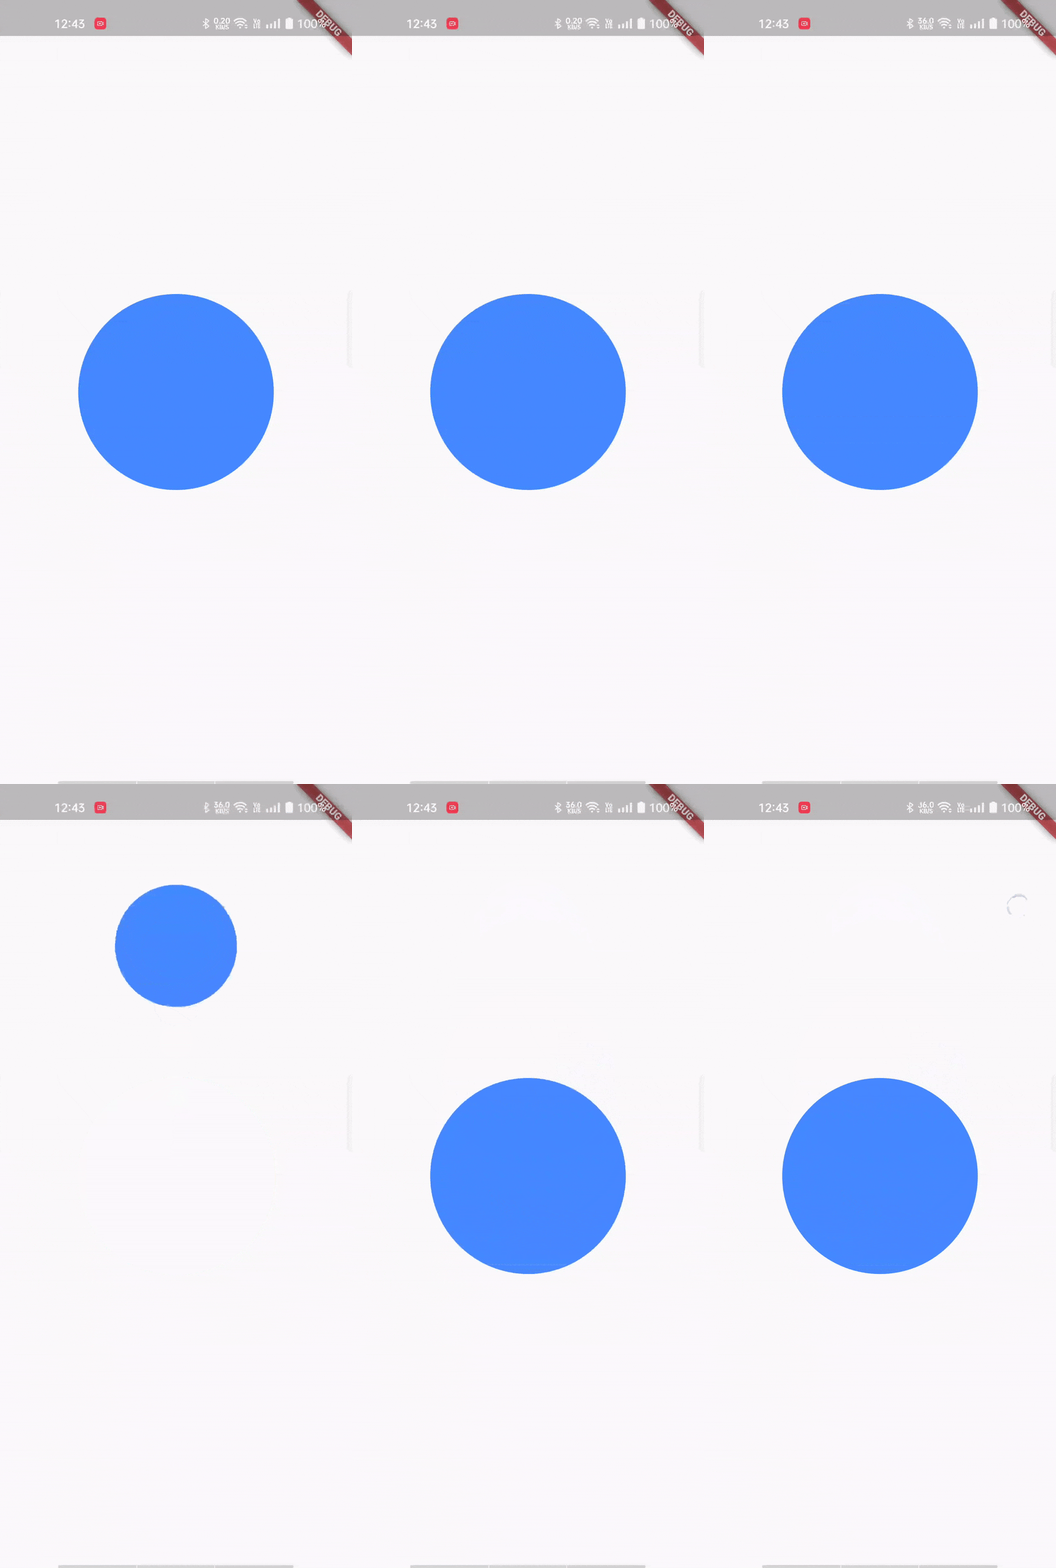
In the second example, we are going to combine two animations.

This animation combines both ScaleTransition and SlideTransition to create such an effect.
class HomeScreen extends StatefulWidget {
  const HomeScreen({Key? key}) : super(key: key);

  @override
  State<HomeScreen> createState() => _HomeScreenState();
}

class _HomeScreenState extends State<HomeScreen> with TickerProviderStateMixin {
  late AnimationController controller;
  late Animation<double> scaleAnimation;
  late Animation<Offset> slideAnimation;

  @override
  void initState() {
    super.initState();
    controller = AnimationController(
      vsync: this,
      duration: const Duration(milliseconds: 1500),
    );
    scaleAnimation = Tween<double>(begin: 0, end: 1).animate(controller);
    slideAnimation = Tween<Offset>(begin: const Offset(0, -5), end: Offset.zero)
        .animate(controller);
    controller.forward();
  }

  @override
  Widget build(BuildContext context) {
    return Scaffold(
      body: Center(
        child: Column(
          mainAxisAlignment: MainAxisAlignment.center,
          children: [
            ScaleTransition(
              scale: scaleAnimation,
              child: SlideTransition(
                position: slideAnimation,
                child: Container(
                  height: 200,
                  width: 200,
                  decoration: const BoxDecoration(
                    color: Colors.blueAccent,
                    shape: BoxShape.circle,
                  ),
                ),
              ),
            ),
          ],
        ),
      ),
    );
  }

  @override
  void dispose() {
    controller.dispose();
    super.dispose();
  }
}
Offset is a simple and commonly used class that represents a 2D point on Flutter canvas. In our case, we are using Animation<Offset> to define the starting and ending points for our sliding animation.
controller.forward()is used to start the animation.
Congratulations on mastering Flutter animations for seamless user experiences! Your journey into creating captivating mobile apps is just beginning. Keep exploring and enchanting your users with the magic of Flutter animation!
Happy Fluttering 💙💙💙