Elevating Flutter Development: The Magic of Code Generation
Enhance Code Quality and Accelerate Development with flutter_gen

Hey there! I'm Pranav Masekar, a dedicated Flutter developer who's all about crafting captivating mobile apps that not only look stunning but also deliver unforgettable user experiences. But it doesn't stop there – I'm also a passionate blogger, sharing insights and best practices within the Flutter community. By contributing to the growth and knowledge-sharing of fellow developers, I'm committed to fostering a dynamic and collaborative environment. And let's not forget my DevOps journey – as a seasoned engineer, I've got the CI/CD pipelines, infrastructure-as-code, and cloud platforms down to an art.
Introduction :
Welcome back to my blog! In today's post, I want to share an exciting new tool that has elevated my Flutter development workflow - flutter_gen. As a Flutter developer, I'm always looking for ways to enhance code quality, accelerate development, and simplify app maintenance. That's why I'm so thrilled about the capabilities of flutter_gen and the magic of code generation. By automatically generating code for assets, fonts, colours and more, flutter_gen helps clean up my codebase and speed up development.
In this article, we will go through the process of setting up this package into a Flutter project. Whether you're new to Flutter or a seasoned developer, I think you'll find this post helpful for levelling up your workflow. So let's dive in!
Installation :
For the installation we need to import some code generation packages into our Flutter project but before adding packages run the following command in the project directory -
dart pub global activate flutter_gen
You might need to export the path given in the last line of the command output.
Now add these packages in pubspec.yaml file -
dev_dependencies:
  build_runner: ^2.4.6
  flutter_gen_runner: ^5.3.1
Setting up pubspec :
Now add these lines in pubspec.yaml file to specify your assets folders -
flutter_gen:
  colors:
    enabled: true
    outputs:
      class_name: AppColors
    inputs:
      - assets/colors/colors.xml

  integrations:
    flutter_svg: true
    lottie: true

flutter:
  uses-material-design: true
  assets:
    - assets/images/
    - assets/icons/
    - assets/fonts/
    - assets/animations/
Now just save the pubspec.yaml file and now let’s add our assets into the project.
Adding Assets :
Start by creating assets folders in your root project and create subfolders for images and icons.
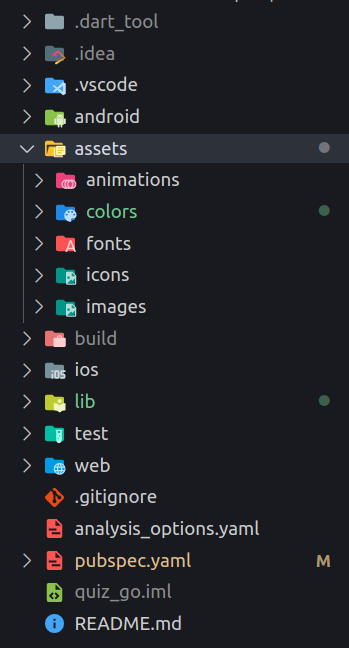
Now add assets to your folders as we normally do. One thing to notice is to specify a colors.xml file so that create a colors.xml file inside colors folder.
<?xml version="1.0" encoding="utf-8"?>
<resources>
    <color name="primaryColor" type="material">#06030c</color>
    <color name="textColor">#f7f7f7</color>
    <color name="darkPurple">#080809</color>
</resources>
After adding all the required resources in the assets folders. Open up the terminal and run the following command to see the magic of code generation -
flutter packages pub run build_runner build
Usage :
After running the build runner command a folder is created inside lib called gen. Inside that folder all the assets have been listed so let’s see how to use them in the project.
Image -
Assets.images.profile.image()
Svg -
Assets.icons.google.svg()
Lottie Animation -
Assets.animations.circularIndicator.lottie()
And that's a wrap! I hope this post has shed some light on the power of flutter_gen for elevating your Flutter development workflow. By leveraging code generation, we can clean up our codebase, eliminate duplication, accelerate development, and make app maintenance a breeze. Thanks so much for reading! I appreciate you joining me on this exploration of taking Flutter development to the next level with flutter_gen. Let me know in the comments if you give it a try!
Keep Fluttering 💙💙💙


