Container Orchestration Made Easy: Deploying Dockerized Applications on Minikube
Step-by-Step Guide to Running a Dockerized Application on a Local Minikube Cluster

Hey there! I'm Pranav Masekar, a dedicated Flutter developer who's all about crafting captivating mobile apps that not only look stunning but also deliver unforgettable user experiences. But it doesn't stop there – I'm also a passionate blogger, sharing insights and best practices within the Flutter community. By contributing to the growth and knowledge-sharing of fellow developers, I'm committed to fostering a dynamic and collaborative environment. And let's not forget my DevOps journey – as a seasoned engineer, I've got the CI/CD pipelines, infrastructure-as-code, and cloud platforms down to an art.
Containerization has revolutionized the way developers build, package, and deploy applications. Docker has emerged as one of the most popular containerization platforms, allowing developers to easily create, distribute, and run applications in isolated environments.
Minikube is a lightweight Kubernetes implementation that allows developers to create a local Kubernetes cluster on their machine. It is a great tool for testing and developing Kubernetes applications locally without the need for a full-scale production environment.
In this blog post, we will explore how to run Dockerized applications on a local Minikube cluster. We will deploy a sample docker application to our local cluster and expose it to access from a browser.
Prerequisites -
Minikube installed and Configure - LINK
Dockerfile
A lot of excitement
Now let’s start coding 🧑💻
We need to have a Dockerfile from which we are going to create a DockerImage. For this blog post, I am going to use one of my project's Dockerfile.
Note: To know how to create DockerFile please read my article on Docker.
Now Open your terminal and run
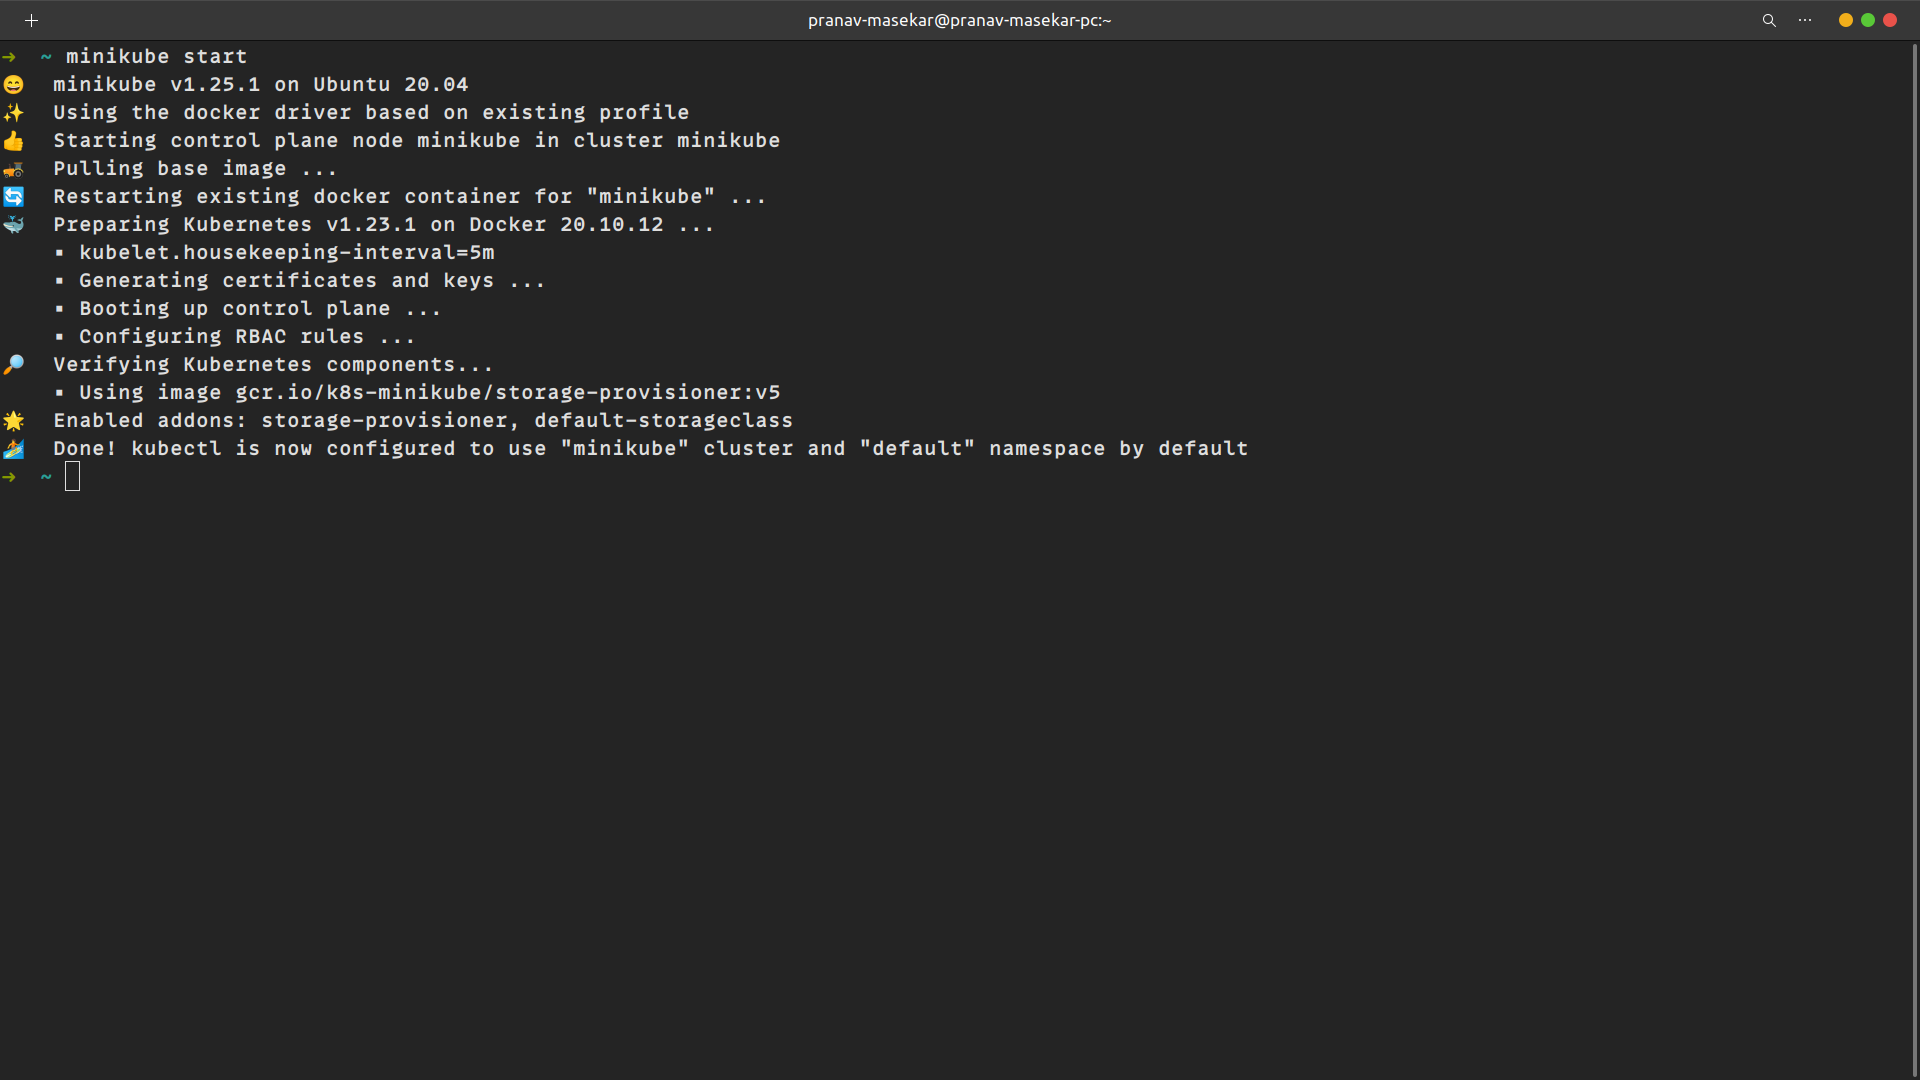
minikube startWhich creates a local one-node Kubernetes cluster for our development.
Now run
eval $(minikube docker-env)This command is used to configure the Docker CLI to use the Docker daemon running inside a Minikube cluster. By configuring your Docker CLI to use the Docker daemon running inside the Minikube cluster, you can build Docker images on your local machine and have them available inside the Minikube cluster.
Now let’s build our Docker image from Dockerfile so for that run
docker build -t <ImageName> .Ensure that you are in the same folder as Dockerfile.
We need to create deployment and service files for Kubernetes to create objects in Minikube. We are going to create two files deployment.yaml and service.yaml.
Create deployment.yaml file inside the same folder -
  apiVersion: apps/v1
  kind: Deployment
  metadata:
    name: go-restro-deployment
  spec:
    replicas: 1
    selector:
      matchLabels:
        app: go-restro
    template:
      metadata:
        labels:
          app: go-restro
      spec:
        containers:
        - name: go-restro
          image: pranav18vk/go-restro:v3.0.0
          ports:
              - containerPort: 8000
apiVersion - It specifies what API version of Kubernetes we are using to create K8’s objects.
kind - It specifies what type of object are we creating in our case it is Deployment
metadata - It gives some description of our K8’s object.
spec - Here we define the specification of our deployment
replicas - It defines how many Kubernetes objects we want to create, in our case it’s just one.
selector - selector is the core grouping primitive in Kubernetes.
template - This describes our pod specifications
containers - Here we define our container specification like name, image which needs to be executed in that container and port which will be used to forward the traffic.
Create service.yaml file inside the same folder -
apiVersion: v1 kind: Service metadata: name: go-restro-nodeport spec: type: NodePort selector: app: go-restro ports: - name: http port: 8000 targetPort: 8000kind: Service: This specifies the type of resource being defined. In this case, it's a Service resource.
metadata: This is a section that defines metadata about the Service resource, such as its name, namespace, and labels.
name: go-restro-nodeport: This is the name of the Service resource.
spec: This is the section that defines the Service's specifications, such as its type, selector, and ports.
type: NodePort: This specifies the type of Service that is being created. In this case, it's a NodePort type, which exposes the Service on a static port on each Node in the Kubernetes cluster.
selector: This defines the selector that the Service will use to route traffic to the correct set of Pods. In this case, it's using the label app: go-restro to select the Pods.
ports: This defines the ports that the Service will expose. In this case, it's exposing port 8000 on the Service.
name: http: This specifies the name of the port being exposed. In this case, it's named "http".
port: 8000: This specifies the port number that the Service will listen on.
targetPort: 8000: This specifies the target port that the Service will route traffic to on the selected Pods. In this case, it's the same as the port number being exposed by the Service.
Let’s apply our changes -
kubectl apply -f deployment.yamlTo verify the execution of the deployment file run
  kubectl get pods

  kubectl get deployment <deployment-name>
Now let’s expose our service file -
kubectl apply -f service.yamlVerify the service creation using
kubectl get services <service-name>To get the accessible URL run the following command -
minikube service <service-name>
Test the application by accessing the URL in Postman.
After completing the tutorial, it's a good idea to clean up any resources that were created during the process. To do so, you can use the
minikube deletecommand to delete the local Minikube cluster and all of its resources. This will ensure that you don't have any lingering resources that could affect future tests or deployments.
Conclusion :
In this tutorial, we learned how to run a Dockerized application on a local Minikube cluster. We created a Docker image of our application and deployed it to the cluster using a Kubernetes Service. We also saw how to expose our application to the outside world and test it to ensure that it was working correctly.
Remember to clean up any resources that were created during the tutorial to ensure that your local machine remains clean and free of any leftover resources.
Happy Kubernetes development!


